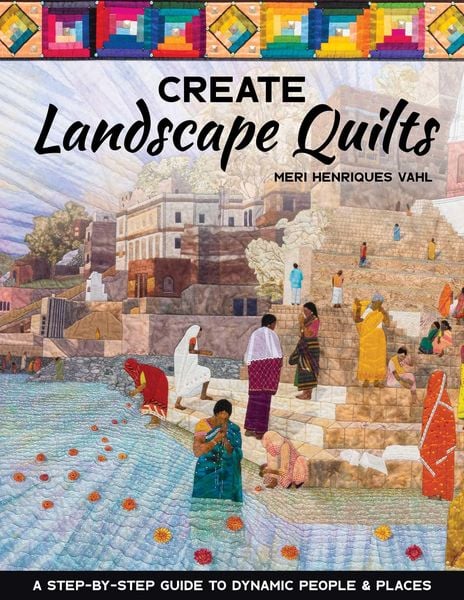
Table of Contents: 1. Why fabric collage art quilts?: The Collage/Tulle Overlay technique frees the quilter to develop her own art style and creativity. Using this technique, she can construct any image she desires without having to deal with such technical issues as ¼” seams, piecing or struggling to figure out how to put her design together. Collage quilting with a tulle overlay can be applied to any type of project: abstract, realistic or even geometric, and is especially effective for landscapes. Also, this technique allows the quilter to take advantage of adding anything to her picture that she can stitch over: yarn, paper, cheesecloth, dryer lint(!), etc.. 2. The Basic Technique: The basic technique is extremely simple and is appropriate for all skill levels, however some experience with free-motion quilting – or at least the willingness to experiment with free-motion quilting – is recommended (but since this technique is so flexible, it would also be possible to make a Collage/Tulle quilt using standard straight stitching only!). To begin: the ironed quilt back is placed face down on a worktable, a piece of batting of equivalent size is laid down over it, and then the quilter simply uses her scissors to cut out shapes and places them directly on the batting, starting with whatever is the farthest away in the background: for example, the sky. 3. Some design considerations: This chapter will discuss translating a photographic image into a quilt: fabric choices to enhance perspective and add interest to the picture; the use of color for design purposes and composition; using both sides of printed fabric to create light and dark contrasts; using torn fabric strips, thread, fabric confetti, etc.; the many possible uses of a variety of fine-weave colored tulles; and adding yarn, ribbon, roving, feathers, etc. to create special effects. 4. This chapter will guide the student through my process of adding people to their quilt. I will also elaborate on how to use this same technique for creating realistic architecture and other elements without using photo transfers; and I will discuss useful aids, such as freezer paper templates, glue and fusible webbing, colored pencils and permanent marker pens. 5. Although I encourage the quilter to create her own first project, for the beginning art quilter who is not ready to experiment on her own, I will sketch out the steps for a simple landscape design. This chapter will include a landscape photograph, a simple line drawing of the same image, a discussion of how to lay out the design, possible fabric choices, etc., and will also include a small sample of a person that could be added to the quilt, if the quilter so desires. 8. Quilt gallery: a short bio and examples of my own quilts, as well as photos of student quilts.